
By Emma Carter · Prep: 5 min · Cook: 50 min · Total: 55 min · Yield: 30 servings
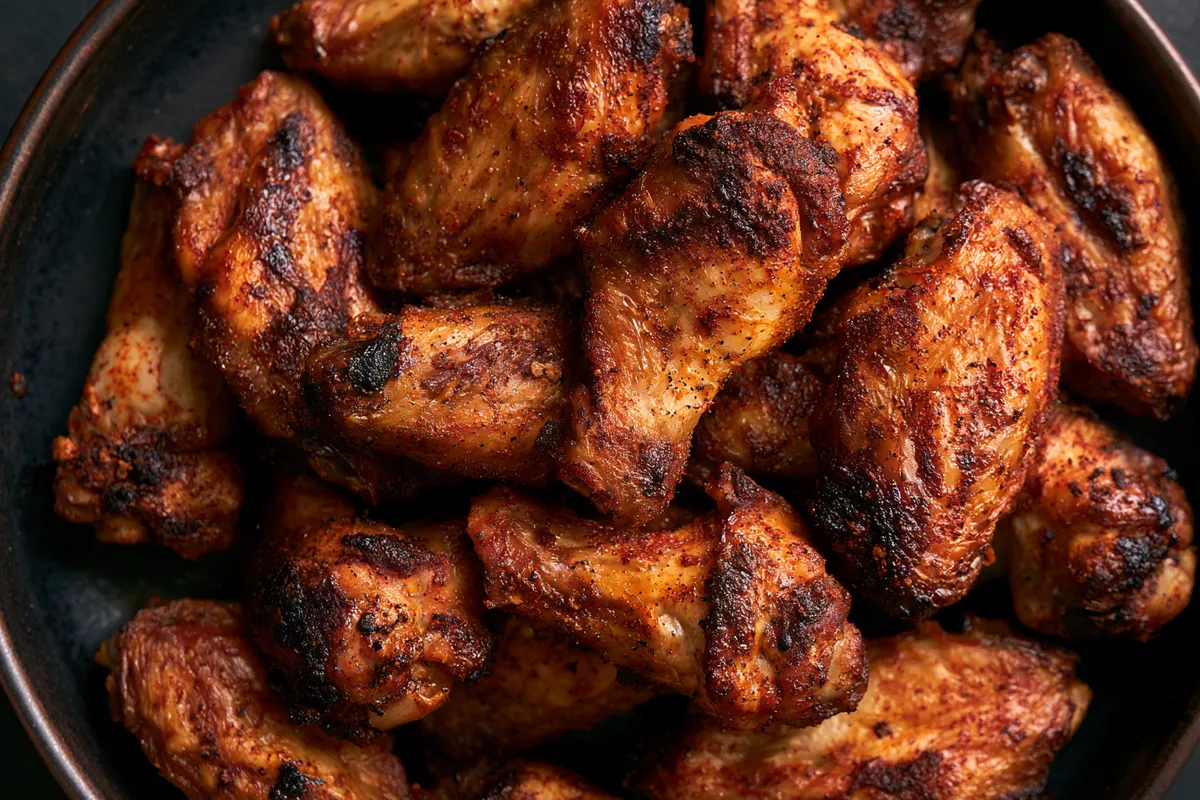
Crispy baked chicken wings deliver crackly, well-seasoned skin and tender meat without a fryer. The simple coating of baking powder, salt, garlic powder, smoked paprika, and black pepper helps the surface dry and brown in a hot oven, creating wings with a savory, lightly smoky finish.
These wings are easy to serve straight from the pan for a casual meal or a shareable snack. Give them space on a rack, turn them once, and let the heat do the work. The result is crisp skin with flavorful seasoning in every bite.
Round out the plate with Lemon Herb Roasted Potatoes, Dill Pickle and Cheddar Pull-Apart Pretzel Knots, or Beet-Pickled Deviled Eggs for a hearty spread.
Why this recipe works
- Baking powder changes the surface of the chicken wings, helping moisture escape so the skin can become dry, blistered, and crisp in the oven.
- A wire rack lifts the wings above the pan. Hot air can circulate around more of each piece instead of leaving the underside sitting in rendered fat.
- Smoked paprika brings warm color and a gentle smoky note, while garlic powder, salt, and black pepper season the wings evenly without adding extra moisture.
- Starting with thoroughly dried wings matters as much as the oven temperature. Less moisture on the skin means better browning and a firmer crust.
Ingredients
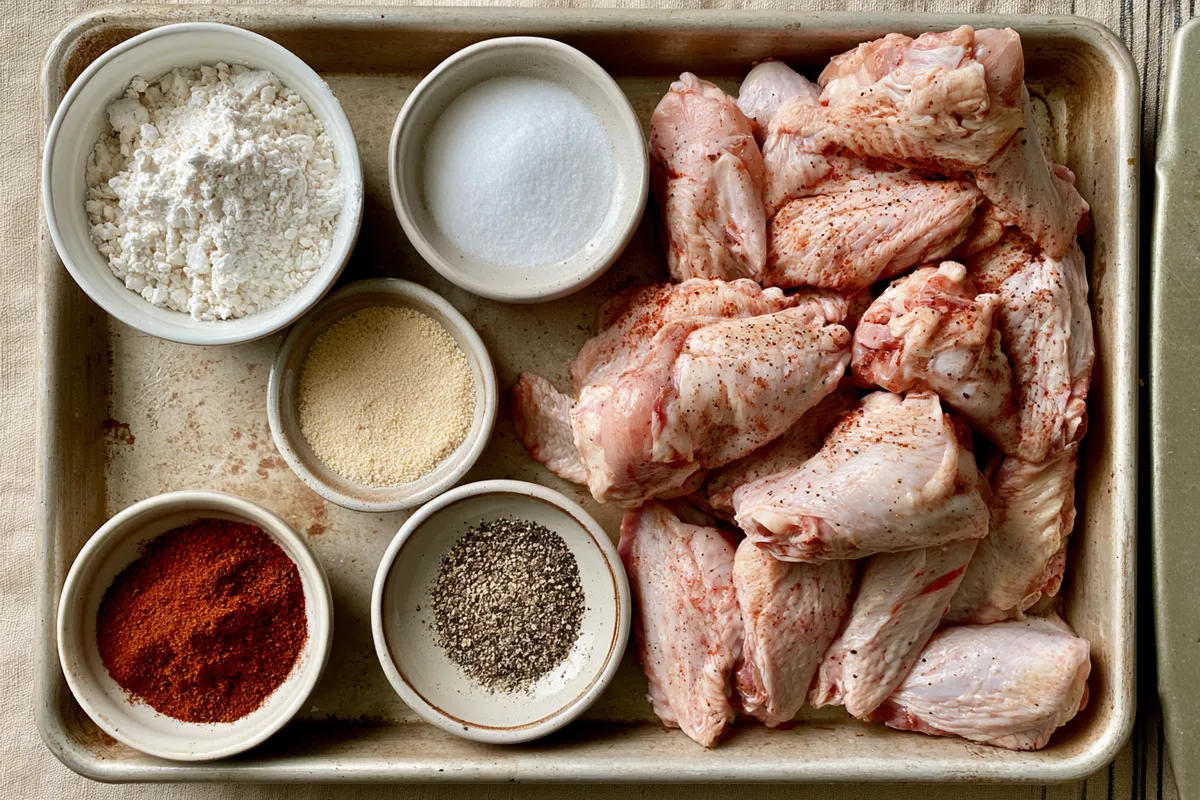
- 2 lb chicken wings, separated into wingettes and drumettes if needed
- 1 tbsp baking powder, use baking powder, not baking soda
- 1 tsp salt
- 1 tsp garlic powder
- 1 tsp smoked paprika
- black pepper
Watch the video
Watch on YouTube: Best Ever Crispy Baked Chicken Wings – How to Perfectly Bake Crispy Wings in the Oven · Video by Cooking With Claudia
Instructions
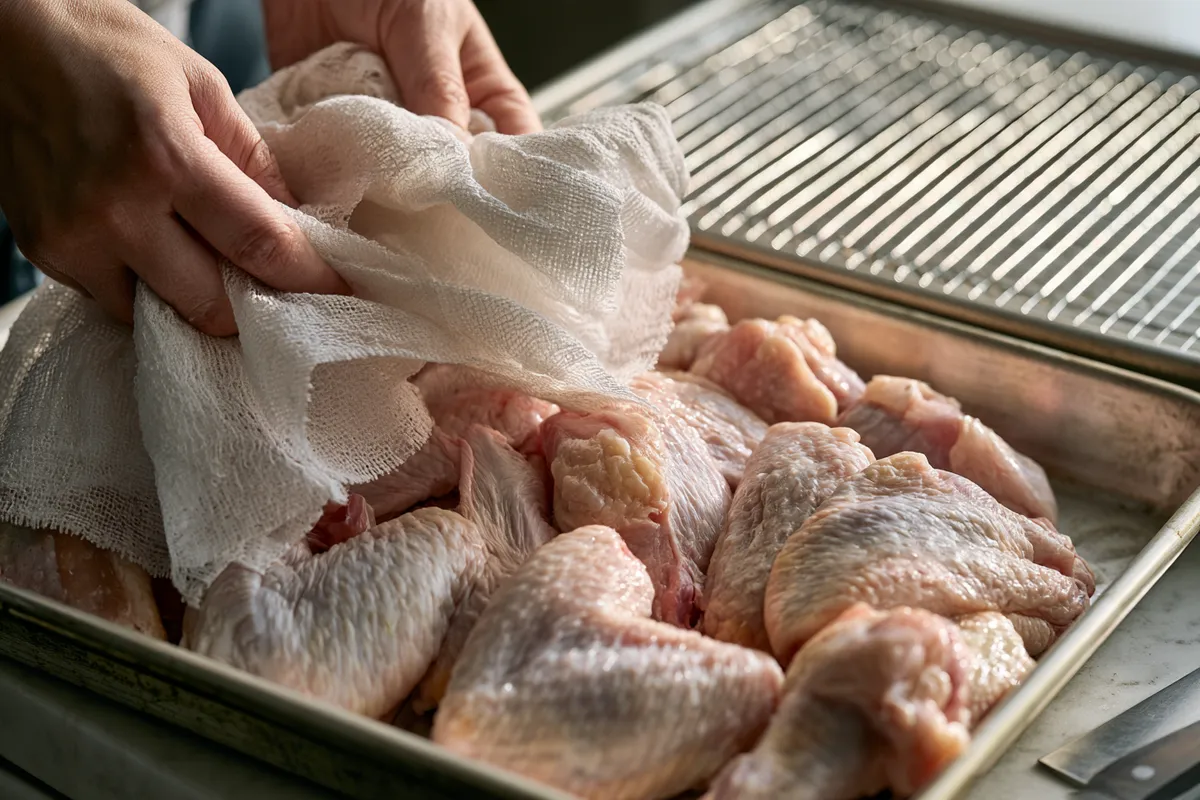
- Heat the oven to 425°F. Set a wire rack inside a rimmed baking sheet. Pat the chicken wings very dry with paper towels, paying close attention to the folds and joints. Dry skin is essential for crispy baked chicken wings because surface moisture steams before it can brown. Arrange the wings in a large bowl after drying them.

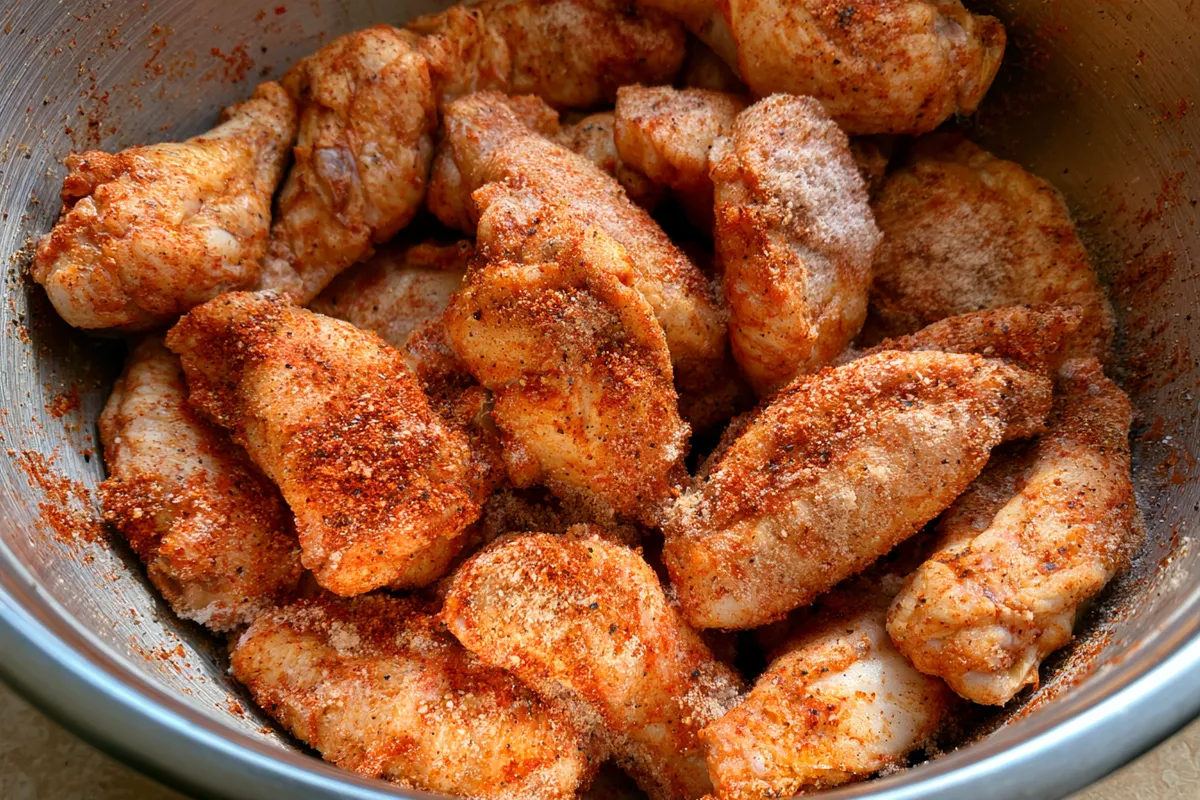
Illustrative image - Add the baking powder, salt, garlic powder, smoked paprika, and black pepper to the chicken wings. Toss until every wing is coated in a thin, even layer. Break up any visible clumps of seasoning with your fingers so no single area tastes overly salty or powdery. The coating should cling lightly rather than form a thick paste.
Illustrative image - Place the seasoned chicken wings on the prepared rack in one layer, leaving a little room between pieces. Do not stack or crowd them. Space allows the hot air to circulate, which dries the skin more effectively and helps the wings brown evenly. Position the baking sheet on the middle oven rack.
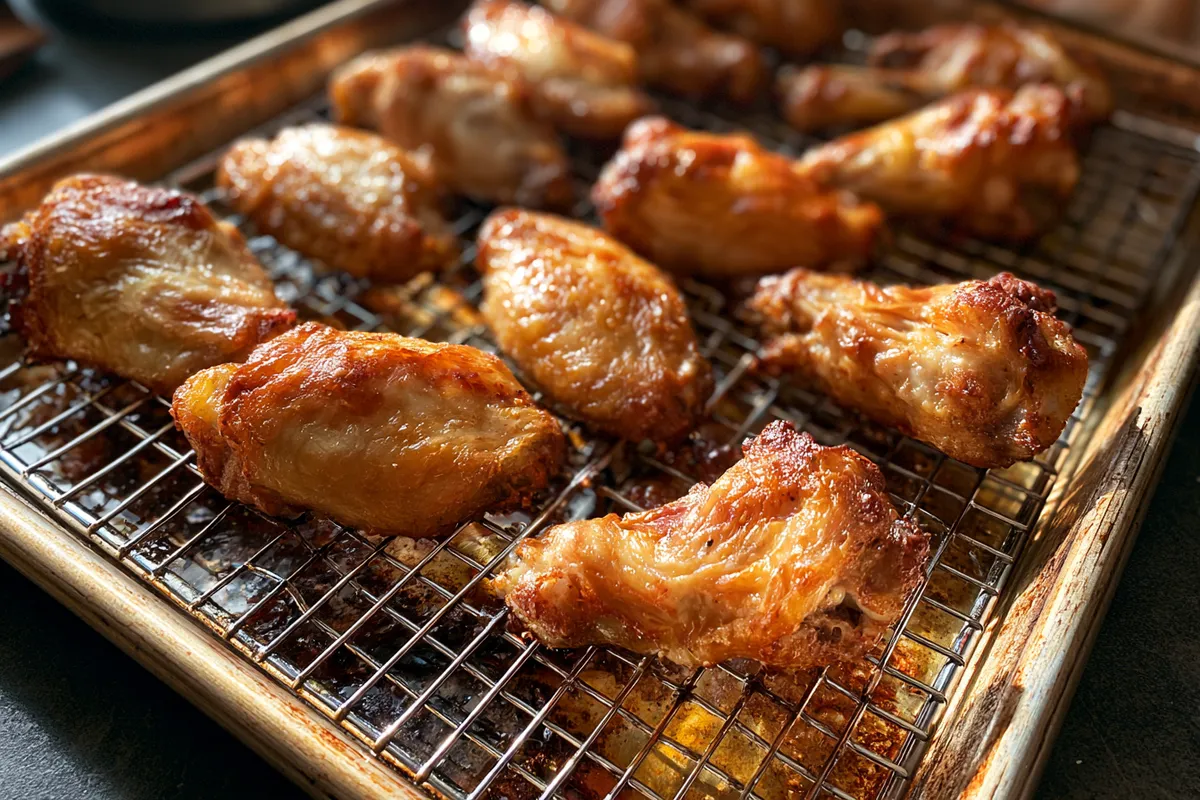
- Bake the chicken wings for 25 minutes. At this stage, the fat will begin to render and the seasoning will look dry on the surface. Keep the oven closed as much as possible so it stays hot; frequent door opening slows browning and can extend the cooking time.
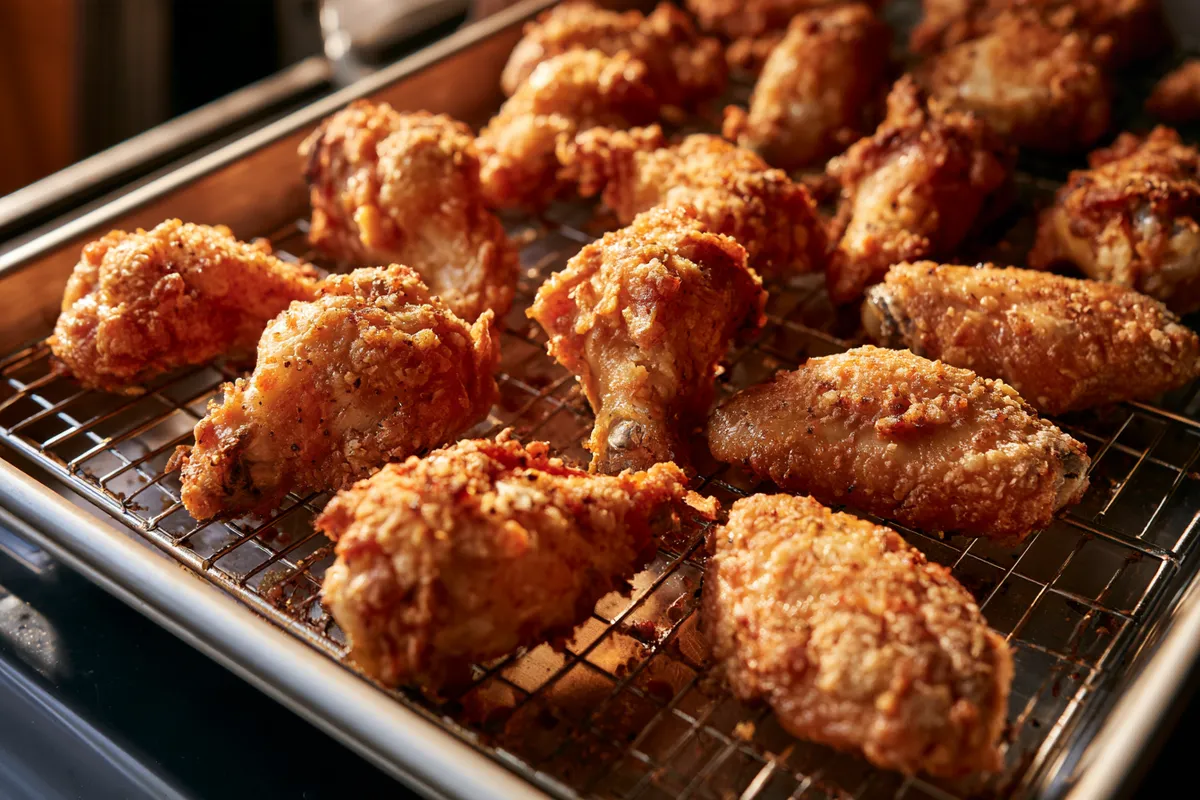
- Turn each chicken wing over with tongs, then bake for 25 minutes more. Look for deeply golden to browned skin with crisp-looking edges. Check that the thickest portion of the chicken wings reaches 165°F on an instant-read thermometer before serving. If the skin needs more color, continue cooking briefly while watching closely.
Illustrative image - Transfer the crispy baked chicken wings to a serving platter and serve while hot. Their skin is at its crispest immediately after baking, so bring them to the table without covering them. Covering traps steam and softens the crust you worked to create.
Tips for success
- Dry the chicken wings thoroughly before seasoning. This is the most important step for crisp skin because water on the surface creates steam in the oven. Use fresh paper towels and keep going until the skin no longer feels slick.
- Use baking powder exactly as listed. Baking soda has a different flavor and can make the wings taste metallic or soapy. Check that the baking powder is fresh, since older baking powder may not work as effectively.
- Choose a sturdy rimmed baking sheet and a rack that fits securely inside it. The rim catches rendered fat, while the rack keeps the undersides from becoming soft. If drippings begin to smoke, carefully remove excess fat only after it has cooled enough to handle safely.
- Turn the wings at the halfway point rather than moving them repeatedly. One turn promotes even browning while allowing the oven to maintain steady heat. Use visual cues and the internal temperature together; browned skin alone does not confirm that the chicken is fully cooked.
- For the best texture, serve the wings promptly. If they must wait for a few minutes, leave them uncovered on the rack rather than transferring them to a deep bowl, where trapped heat softens the skin.
Variations
- For a sharper peppery profile, increase the black pepper to suit your taste while keeping the baking powder and salt amounts unchanged. Add it with the other dry seasonings so it distributes evenly.
- For a milder flavor, use regular paprika in place of smoked paprika. The wings will still brown well, but they will have a sweeter, less smoky finish.
- For a more garlicky batch, increase the garlic powder modestly. Avoid adding wet seasonings before baking, since extra moisture can interfere with crisping.
- Serve the plain baked wings as a base for different meals. The dry seasoning pairs especially well with the savory flavors of Honey Garlic Chicken Thighs when you want a chicken-focused dinner spread.
Crispy Baked Chicken Wings
Ingredients
- 2 lb chicken wings separated into wingettes and drumettes if needed
- 1 tbsp baking powder use baking powder, not baking soda
- 1 tsp salt
- 1 tsp garlic powder
- 1 tsp smoked paprika
- black pepper
Instructions
- Heat the oven to 425°F. Set a wire rack inside a rimmed baking sheet. Pat the chicken wings very dry with paper towels, paying close attention to the folds and joints. Dry skin is essential for crispy baked chicken wings because surface moisture steams before it can brown. Arrange the wings in a large bowl after drying them.
- Add the baking powder, salt, garlic powder, smoked paprika, and black pepper to the chicken wings. Toss until every wing is coated in a thin, even layer. Break up any visible clumps of seasoning with your fingers so no single area tastes overly salty or powdery. The coating should cling lightly rather than form a thick paste.
- Place the seasoned chicken wings on the prepared rack in one layer, leaving a little room between pieces. Do not stack or crowd them. Space allows the hot air to circulate, which dries the skin more effectively and helps the wings brown evenly. Position the baking sheet on the middle oven rack.
- Bake the chicken wings for 25 minutes. At this stage, the fat will begin to render and the seasoning will look dry on the surface. Keep the oven closed as much as possible so it stays hot; frequent door opening slows browning and can extend the cooking time.
- Turn each chicken wing over with tongs, then bake for 25 minutes more. Look for deeply golden to browned skin with crisp-looking edges. Check that the thickest portion of the chicken wings reaches 165°F on an instant-read thermometer before serving. If the skin needs more color, continue cooking briefly while watching closely.
- Transfer the crispy baked chicken wings to a serving platter and serve while hot. Their skin is at its crispest immediately after baking, so bring them to the table without covering them. Covering traps steam and softens the crust you worked to create.
Notes
Storage
Cool leftover chicken wings promptly, then refrigerate them in a covered container for up to 4 days. Reheat them in a 400°F oven on a wire rack until hot and crisp again, checking that they reach 165°F. Avoid reheating in a covered container, which traps steam and softens the skin.
Frequently Asked Questions
Why does baking powder make baked chicken wings crispy?
Baking powder helps create a drier, more textured surface on the chicken skin. As the wings cook, that surface browns and blisters more readily than uncoated skin. It is not a breading, so use only a light, even coating. Baking soda is not an interchangeable substitute because its flavor and chemical effect differ.
Can you bake the wings directly on a baking sheet?
You can, but the underside is less likely to stay crisp because it sits in rendered fat. A wire rack improves air circulation around the chicken wings and produces more even browning. If you only have a baking sheet, turn the wings carefully and expect a slightly softer underside.
How do you know when baked chicken wings are done?
Use an instant-read thermometer in the thickest part of a wing, avoiding bone. The chicken wings are safe to serve when they reach 165°F. Their skin should also look deeply golden and feel dry and firm rather than pale or rubbery. Larger wings may need a few additional minutes.
Can you season the wings ahead of time?
For the crispest result, season and bake the wings soon after drying them. The baking-powder coating works best as a light, dry layer. If you need to prepare ahead, dry the chicken wings and refrigerate them uncovered on a rack, then add the seasonings just before baking.