
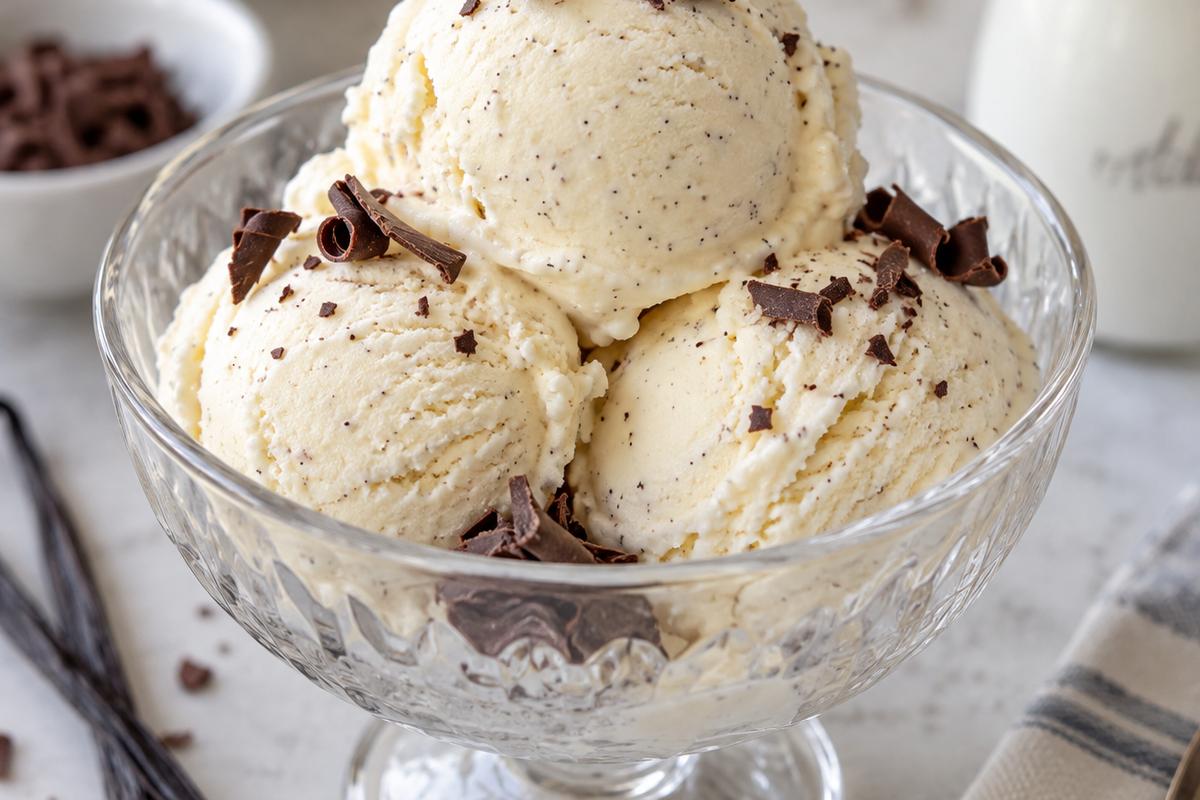
Silky, rich, and fragrant with real vanilla, this vanilla ice cream homemade no eggs recipe churns into a soft, scoopable treat with a clean dairy flavor. A little salt keeps the sweetness balanced, while heavy cream gives every spoonful that lush, melt-on-the-tongue texture.
It’s an easy custard-free ice cream recipe, so there’s no tempering eggs, standing over a saucepan, or waiting for a cooked base to cool. Simply whisk, chill, and churn.
This is a lovely everyday vanilla ice cream to keep in the freezer for pie, brownies, fresh fruit, or a bowl all on its own. The straightforward ingredient list also makes it a dependable base for your favorite mix-ins.
Why You’ll Love This Recipe
- No eggs and no cooking: The base comes together in one bowl, with no custard-making step.
- True vanilla flavor: Vanilla extract and a pinch of salt make the simple ingredients taste full and rounded.
- Rich, creamy texture: Whole milk and heavy cream create an indulgent ice cream that isn’t icy.
- Easy to customize: Use it as a classic vanilla base or add fruit, cookies, chocolate, or warm spices.
Ingredient Notes
- Heavy cream: Use cream with about 36% milk fat or higher. Its fat content is key to a smooth, less icy no-egg ice cream. Avoid substituting all of it with milk.
- Whole milk: Whole milk adds dairy flavor while keeping the finished ice cream lighter than an all-cream version. Two percent milk works in a pinch, but the texture will be firmer and less rich.
- Granulated sugar: Sugar sweetens the base and helps it stay scoopable after freezing. Don’t reduce it drastically, or the ice cream can freeze hard.
- Vanilla: Pure vanilla extract gives the best classic flavor. Vanilla bean paste is a wonderful swap; use the same amount for visible specks and a deeper vanilla look.
- Fine salt: Just a pinch sharpens the vanilla and prevents the flavor from tasting flat. It won’t make the ice cream salty.
Vanilla Ice Cream Homemade No Eggs
This recipe makes about 1 quart. For the creamiest result, make sure the freezer bowl for your ice cream maker is fully frozen and chill the base before churning.
Ingredients
- 2 cups heavy cream
- 2 cups whole milk
- 3/4 cup granulated sugar
- 2 teaspoons pure vanilla extract
- 1 pinch fine salt
- Good-quality chocolate curls, optional, for serving
Instructions
- Freeze your ice cream maker bowl according to the manufacturer’s directions, if your machine uses a freezer bowl. Most need at least 12 to 24 hours in the freezer. Chill a loaf pan or freezer-safe storage container too, if you have room; a cold container slows melting when you transfer the freshly churned ice cream.
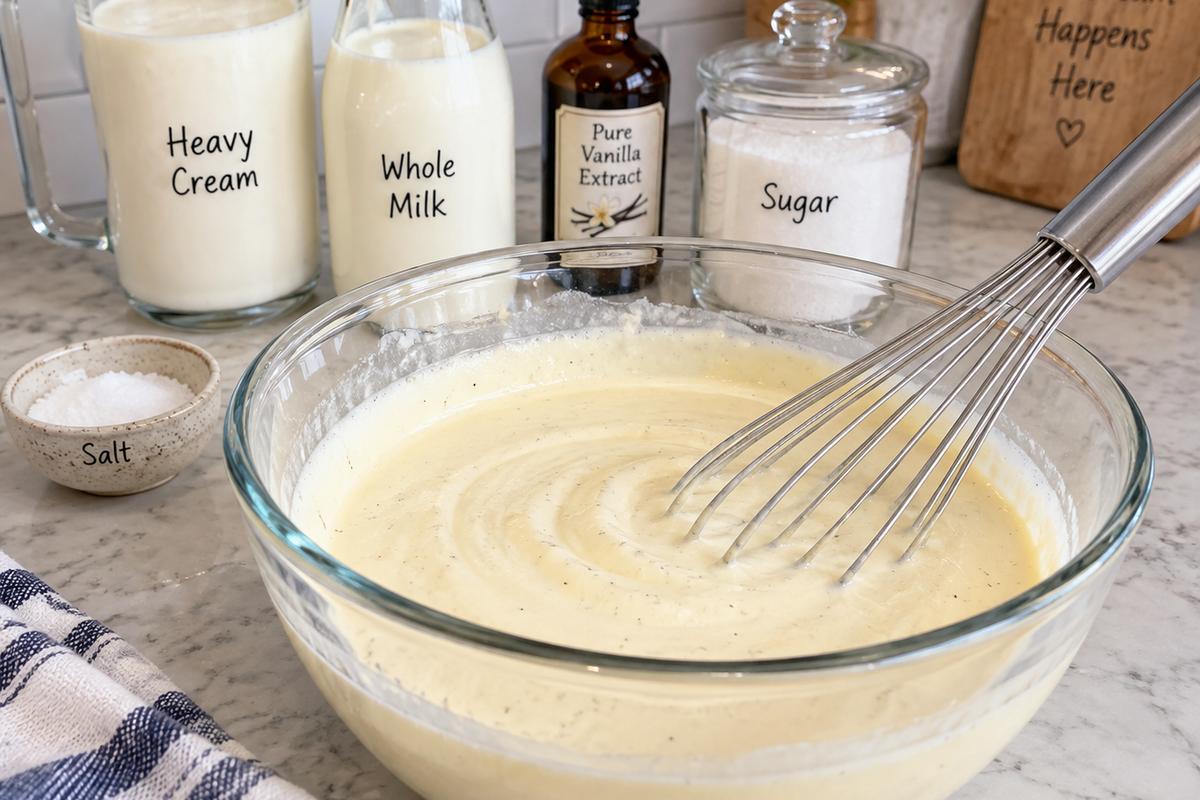
- In a large bowl, whisk the heavy cream, whole milk, sugar, vanilla, and salt until the sugar is completely dissolved. Rub a little of the mixture between clean fingers to check for grains. Dissolved sugar helps the base freeze smoothly rather than feeling gritty.

- Cover and refrigerate the mixture for at least 2 hours, or until thoroughly cold. This step isn’t complicated, but it matters: a cold base churns faster and gives the machine a better chance of incorporating tiny air bubbles for a lighter texture.
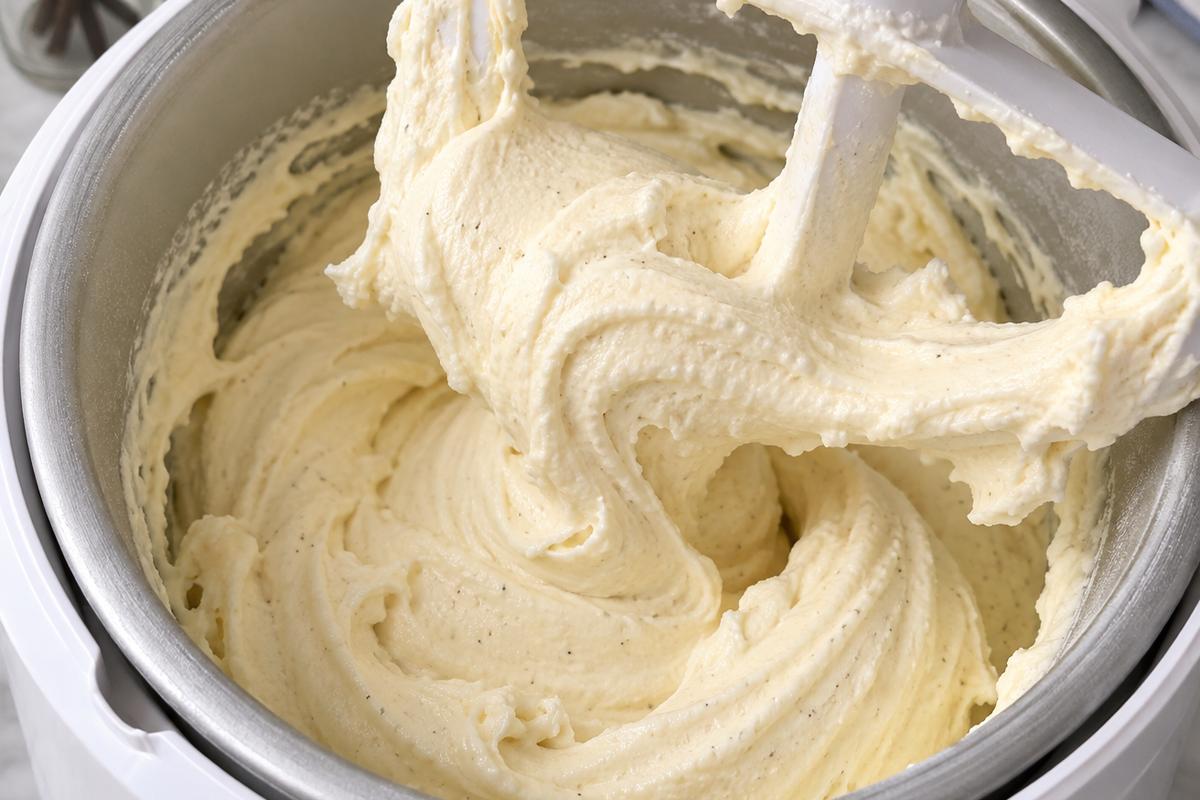
- Pour the chilled base into the running ice cream maker and churn following your machine’s instructions, usually about 20 to 30 minutes. Stop when it resembles thick soft serve and holds gentle ridges from the paddle.
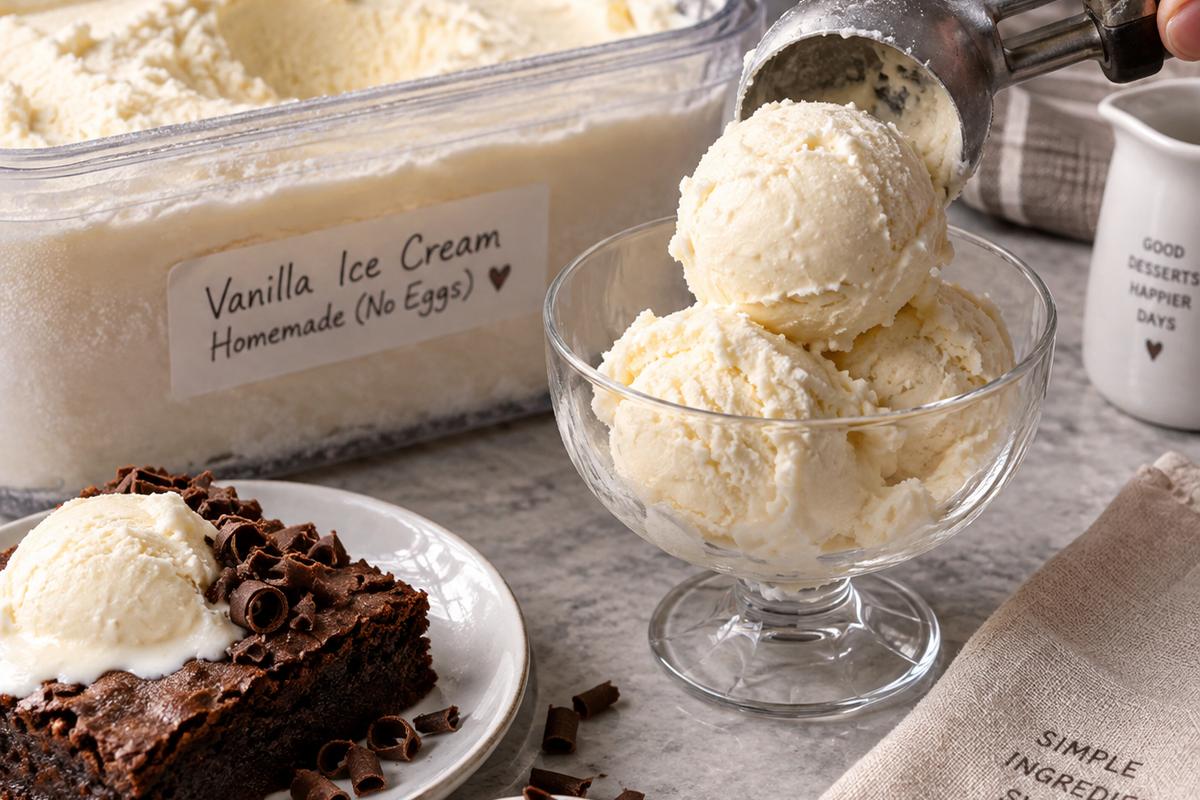
- Enjoy right away for soft-serve texture, or spoon the ice cream into an airtight container. Press parchment paper or plastic wrap directly onto the surface, cover, and freeze for 2 to 4 hours for firmer, easy-to-scoop ice cream. Finish with chocolate curls if you like.
Tips & Variations
- Chill every component well. A cold base and fully frozen machine bowl freeze the mixture quickly. Faster freezing creates smaller ice crystals, which is the secret to a smoother homemade texture.
- Use full-fat dairy for the best body. Since this vanilla ice cream homemade no eggs recipe has no egg yolks, the cream provides much of the richness and softness. Lower-fat dairy can make it noticeably icier.
- Try vanilla bean paste. Replace the extract with 2 teaspoons vanilla bean paste for a more pronounced vanilla aroma and pretty specks. A split vanilla bean can also be steeped in the milk and cream, then scraped into the base before chilling.
- Add mix-ins at the end of churning. Stir in up to 3/4 cup mini chocolate chips, crushed sandwich cookies, toasted coconut, or chopped berries during the last minute. Adding them earlier can interfere with smooth churning.
Serving and Storage
Serve scoops with warm berry sauce, sliced peaches, apple crisp, brownies, chocolate cake, or a simple sprinkle of flaky salt. I love the contrast of cold vanilla ice cream with a warm dessert, but it’s also wonderful in an ice cream soda or between two chewy cookies.
Store the ice cream in a shallow airtight container with parchment or plastic wrap pressed directly against the surface. Keep it at the back of the freezer, where the temperature stays steadier, for up to 2 weeks. It will still be safe longer, but the texture is best early on.
There’s no reheating needed for ice cream. After a long freeze, let the container sit at room temperature for 5 to 10 minutes before scooping. Avoid repeated thawing and refreezing, which encourages large ice crystals.
You Might Also Like
- No Churn Ice Cream No Condensed Milk (Easy Vanilla Recipe)
- No Bake Desserts Christmas: Chocolate Peppermint Cheesecake Bites
- No Bake Desserts Recipes: Chocolate Peanut Butter Bars
- Dessert Recipes 3 Ingredients: Easy Peanut Butter Mug Cake
Frequently Asked Questions
Can I make vanilla ice cream homemade no eggs without an ice cream maker?
Yes, although the texture will be a little denser. Whisk the base, pour it into a shallow freezer-safe pan, and freeze it. Stir vigorously with a fork or whisk every 30 to 45 minutes for about 3 to 4 hours, breaking up frozen edges each time. Freeze until firm after the final stir.
Why is my homemade ice cream icy?
An icy texture usually comes from freezing too slowly, using lower-fat dairy, or allowing the ice cream to thaw and refreeze. Start with a very cold base, make sure the machine bowl is fully frozen, and store the finished ice cream tightly covered.
Can I use half-and-half instead of heavy cream?
You can, but the finished ice cream will be less rich and more prone to freezing hard. For a better compromise, use 1 1/2 cups heavy cream plus 2 1/2 cups half-and-half rather than replacing all of the cream.
How long should I let the ice cream soften before serving?
Five to 10 minutes on the counter is usually enough for a quart container. The goal is for the scoop to glide through smoothly, not for the ice cream to become melty around the edges.